Convert Pro Review: Grow Your Email List & Drive Conversions With WordPress
Think back to all the times you’ve signed up for something. Maybe it was a blogger’s newsletter, the latest discounts from your favourite retailer or a service like DropBox that you use regularly. What was it that prompted you to join? Eye-catching opt-in forms, bold buttons in strategic locations and overlays that display as you’re about to leave. More often known as calls-to-action (CTAs), these tools of the marketing trade are there to do exactly that – spur you on to take action. Now, if you want to build an email list or display CTAs on your website, Convert Pro is one of the best WordPress plugins you’ll find. In my Convert Pro review, I’ll show you exactly how it works, and a bunch of features that make it one of the best opt-in form plugins on the market.

What is Convert Pro?
Convert Pro is a list building plugin for WordPress that makes the process of generating leads effortless.
With an efficient editor, you don’t need any coding skills to create attractive pop-pups and opt-in forms.
And with an ever-growing library of professionally designed templates, you can get your forms live in a few clicks.
Key features
Convert Pro has an extensive feature-set with the aim of making the design and implementation of your forms as quick and easy as possible.
The key features include:
- A mobile editor for mobile responsive forms
- Drag and drop customisation to make designing code-free
- Cloud technology for the implementation of high-quality templates
- Ready-to-use templates so you can click, edit and publish
- Advanced timing triggers to target the right people at the right time
- A/B testing for optimising your forms
- Advanced filters to personalise your message
- Real-time analytics to track conversions
- Leading mailer integrations to connect your favourite third-party services

One of the key things to take note of with this plugin is the ability to try it before you buy it. The Convert Pro team kindly allow you to test drive the plugin by giving you access to a test site to tinker with.
Creating opt-in forms with Convert Pro
To give you an idea of how simple the process of creating and publishing forms is with Convert Pro, let’s go through it step-by-step.
Step 1. Choose your CTA type
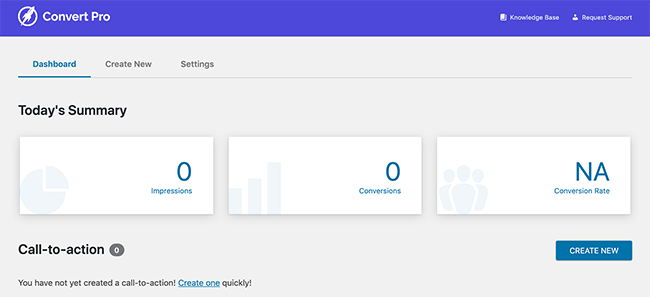
To start creating your first form, head to the Convert Pro dashboard and click Create New.
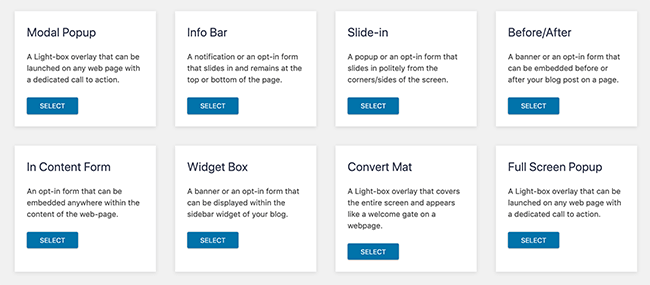
There are 8 call-to-action types in Convert Pro with a range of boxes, forms and popups.
They include:
- Modal Popup – a lightbox for any page with a dedicated call-to-action
- Info Bar – a form or notification bar for the top or bottom of a page
- Slide-In – a form or popup that slides in from the side of the screen
- Before/After – to display a form or banner before or after a blog post
- In Content Form – a form to embed within your content
- Widget Box – a banner or form for your sidebar
- Convert Mat – a welcome gate type overlay that covers the entire screen
- Full-screen Popup – a full-screen lightbox for any page with a dedicated call-to-action
For this example, we’re going to look at the Modal Popup which is one of the most frequent types of opt-in form you’re likely to come across.
Step 2. Choosing a template and customizing your CTA
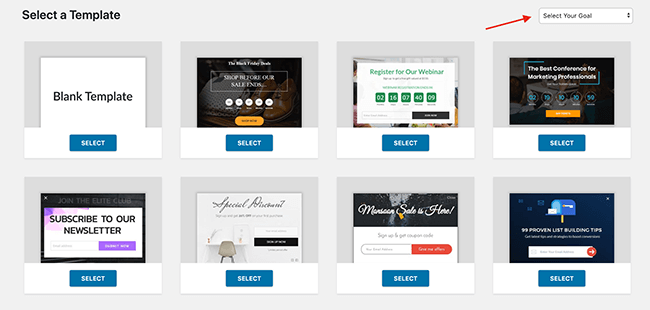
After selecting the call-to-action type you’ll be prompted to select a template as shown above.
The choice can be overwhelming, so it’s a good idea to filter the options using the drop-down box in the top right corner.
Simply select your goal (in this case I’m choosing ‘Get email subscribers’) and choose a template that closely resembles what you want to achieve.
Now name your CTA:
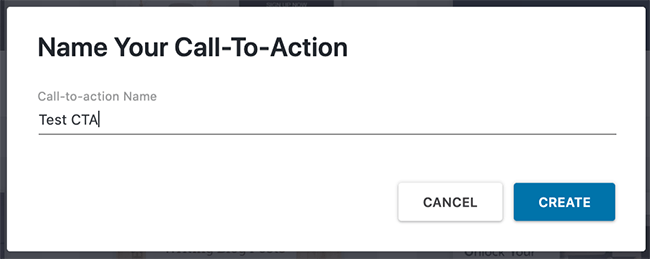
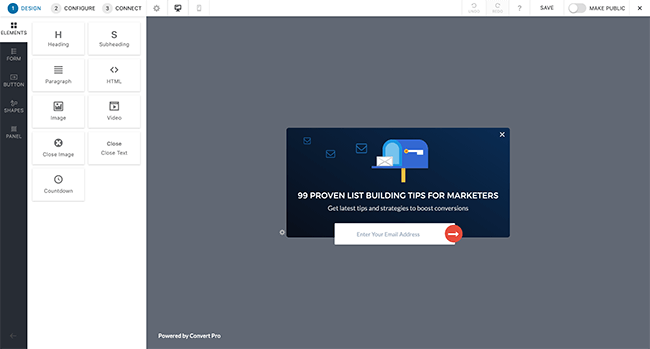
The following screen will display a preview of how your form will look. From here you can customise elements using the drag and drop interface to create the look that best suits your branding.
To give you an example, here is what the same form looks like after changing a few images and colours.
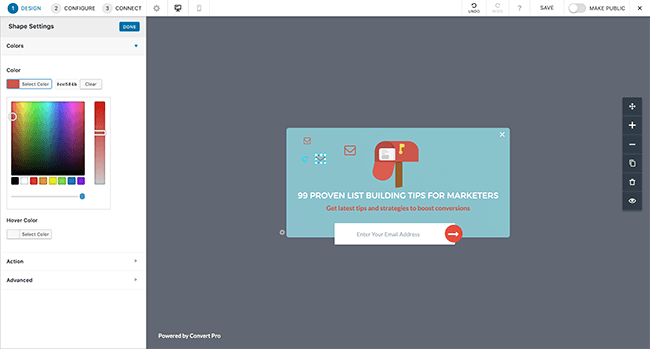
Not only can you insert your own images and colour branding, but Convert Pro also provides access to extensive web fonts, shapes and banners, overlays and animations and form button styles.
With further elements like video and HTML blocks you can drag and drop onto your form, the combinations are endless.
3. Configuring your form
With your design in place, the next step is to configure your form. This can be done in 3 sections titled:
- Launch
- Target
- Cookies
Launch
The Launch section includes the launch triggers and rulesets for your form. This is where you can manage when your CTA will be displayed. This incorporates launch triggers which you can set individually or all together.
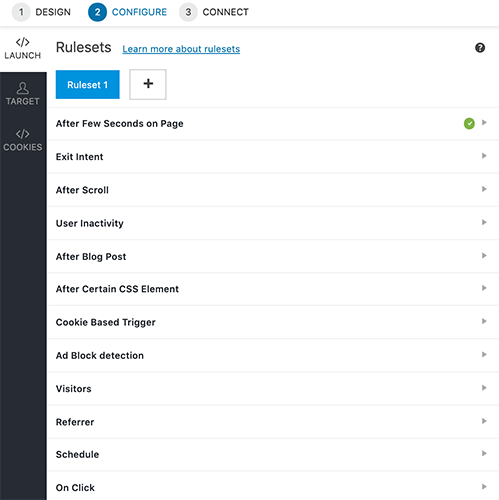
Similarly, rule sets are a collection of triggers you can combine to show a CTA. With 1 or more triggers in a rule set, Convert Pro ensures each trigger is executed before the CTA is displayed. If even one trigger isn’t executed, the CTA won’t display.
Target
The target section is where you should visit next.
Under the pages heading, you can choose multiple display rules which are the places you wish to display your CTA.
You can also exclude the CTA from showing on certain pages by adding an exclusion rule.
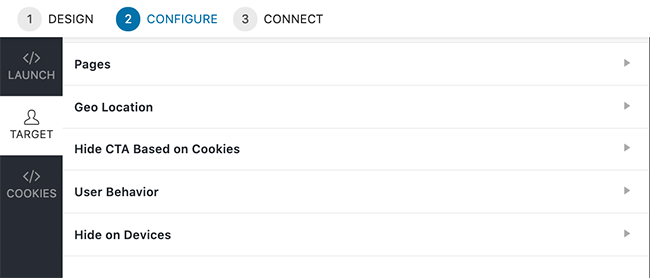
After this, you can target users further based on their
- Location
- Cookie set
- Behaviour
- Device
Cookies
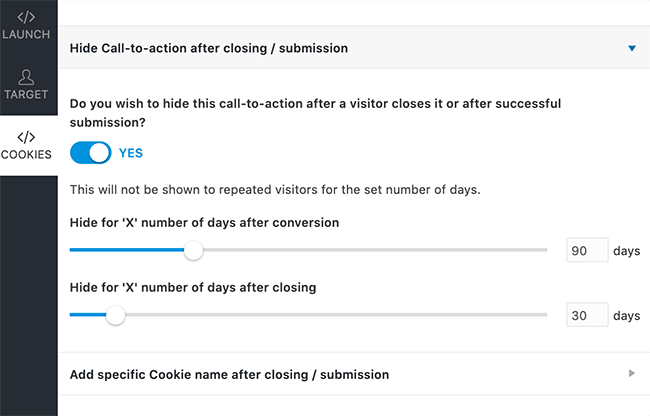
The cookies section is helpful for hiding or displaying your CTA based on whether someone has already been added to your list or not. You don’t want to annoy readers with forms they’ve already opted-in for.
4. Connecting with third-party services
The next step in creating and setting up your opt-in form is to connect your design with your email marketing service. To do this you need to activate the ‘Connects’ add-on.
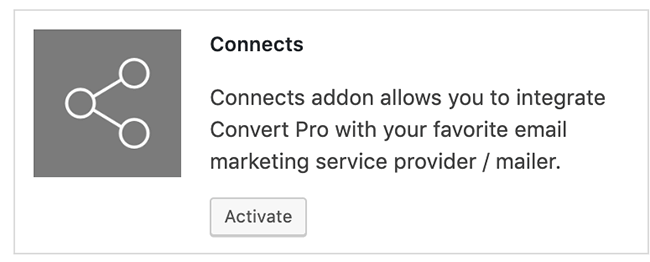
Navigate from Convert Pro to Settings and then to add-ons. Click Activate on the connects add-on box.

Now head back to your form editor and click connect. You should now see the integrations available for you to connect with. For this example, we’ll use MailChimp as our integration.
Click the MailChimp icon.
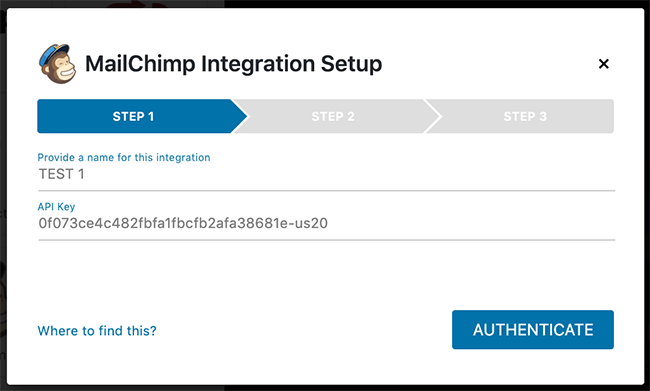
Provide your integration with a name and paste the API Key which you can find in your MailChimp account. Then click Authenticate.

Now choose your list and if you wish, you can enable the double opt-in option.
Click save and if you’re happy, publish your CTA.
A/B split testing
To get the best out of your opt-in forms and CTAs, split testing is the best next step you can take. This helps you find the best performing elements that convert more visitors into subscribers and leads.
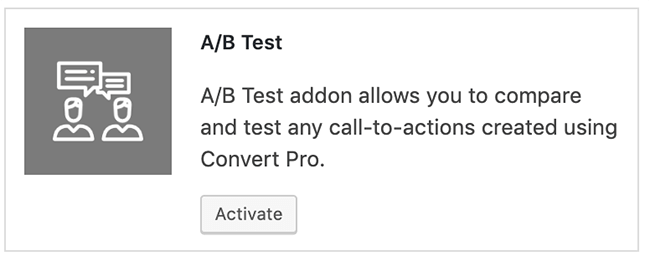
Convert Pro comes with its own A/B split testing functionality with the A/B Test add-on. To make use of it, in Convert Pro settings, activate the add-on.
To start an A/B Test you need at least 2 CTAs published. Once you have them in place, head to the Convert Pro dashboard and click A/B Test from the top menu. Next click Create New Test.
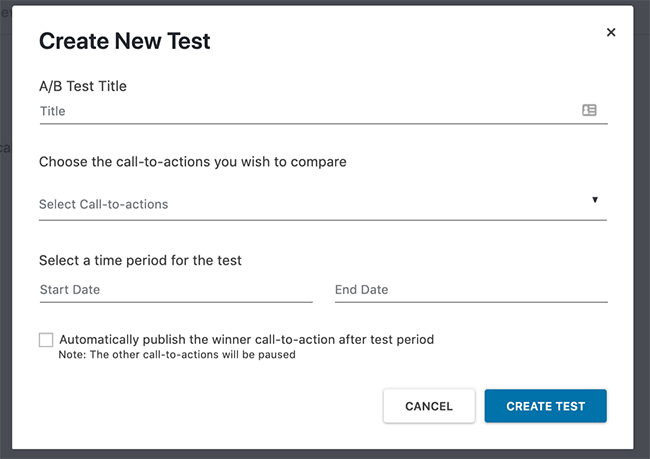
Give your test a title, select your CTAs and primary CTA and select the start and end date for your test.
If you wish, you can select the checkbox to automatically publish the winner CTA after the test has ended.
Connecting to Google Analytics
Another of Convert Pro’s powerful features is the ability to connect to Google Analytics so that all the impressions, conversions and conversion rates are tracked in real time.
To set this up, activate the Analytics add-on, go to your dashboard click Analytics under the Settings heading.
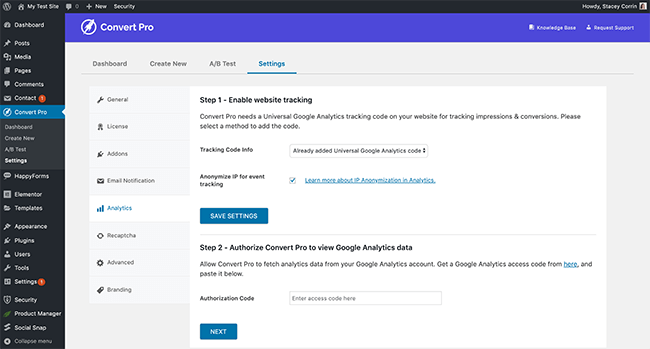
Choose your tracking code info and save settings. Then enter your authorisation code and click next.
Once you’re set-up, you will be able to see analytics data within your WordPress Dashboard and ultimately this data makes it easier to A/B test your designs.
Convert Pro add-ons
Besides the Analytics, A/B Test and Connects add-ons, Convert Pro offers 3 more add-ons to further facilitate your CTAs.
These are:
- Advanced Scripts which allows you to add JavaScript at certain form events
- Grid which adds a grid into the editor for better placement and alignment
- Import/Export which allows you export CTAs to other websites
Convert Pro pricing
The pricing of Convert Pro is much simpler than other WordPress popover plugins. To access all the features of the plugin, it will set you back $99 for an annual subscription. However, lifetime access to the plugin and all its features is only $399.
To get even more functionality, you can choose the Agency Bundle which grants you access to:
- Convert Pro
- Astra Pro
- All Starter sites
- WP Portfolio Plugin
- Ultimate Addons for Beaver Builder
- Ultimate Addons for Elementor
- Schema Pro
- All future Plugins
The annual fee for the Agency Bundle is $249, while lifetime access is $699.
Convert Pro: Pros and cons
With any WordPress plugin, there are advantages and pitfalls. The same is true for Convert Pro.
The pros
- Intuitive drag and drop editor
- Mobile editor
- Professionally designed templates
- Advanced rulesets and triggers
- Page level targeting
- Integration with popular third-parties
- Google analytics integration
- A/B testing
- Geo Location Tagging
The cons
- Limited Templates for Convert Mat CTA
Convert Pro review: Final thoughts
I’ve tested may list building plugins in my time and in my experience, there are two categories.
- Full of features but complicated to use
- Just the right amount of features but easy to use
Convert Pro falls into the latter of these two. The feature-set is everything you could possibly want in order to design and build opt-in forms that convert and there’s no fluff to confuse and distract you from your goal.
Being able to take the whole plugin for a test-drive before you commit to buying takes some of the stress out of the situation. You’ll know exactly what you’re buying with no hidden surprises.
With the extra functionality of A/B testing and tracking your conversions Google Analytics, you have all the information you need in one place.
That leaves more time for you to focus on attracting more visitors, while the forms do their job with generating leads.
All-in-all Convert Pro is a robust and powerful plugin that has the potential to rival the bigger names on the market.


Leave a Reply