AutomatorWP: How to Automate Nearly Everything in WordPress
Plugins and integrations are a big part of what makes WordPress such a powerful system. Getting plugins to work together smoothly isn’t always possible, though. AutomatorWP aims to solve that problem, using a simple ‘trigger’ and ‘action’ system that lets you automate WordPress tasks.
With AutomatorWP, you can set up complex automation workflows using some of WordPress’ most popular plugins. In this article, we’ll introduce you to the solution, show you its inner workings, and go over some basic automations that can benefit your website.
Let’s get to it!
An Introduction to AutomatorWP

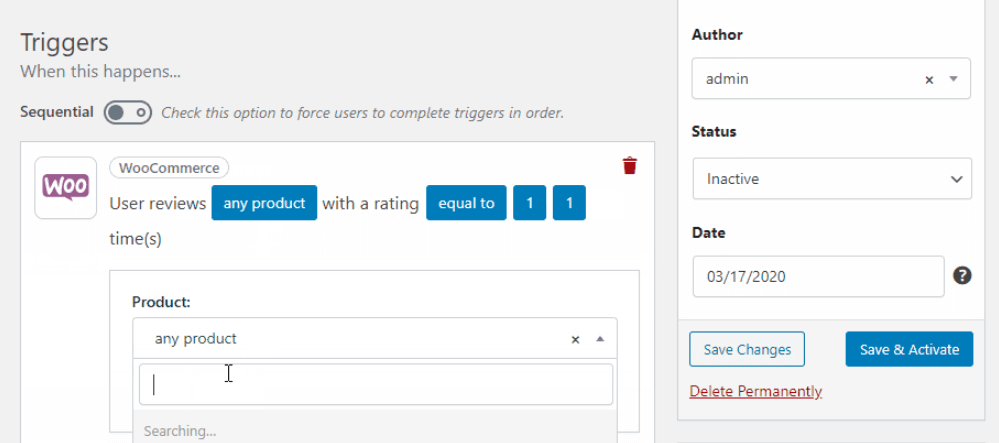
AutomatorWP is a tool that enables you set up complex automations between plugins, as well as with WordPress itself. For example, if you use WooCommerce, you can configure the plugin so that every time a customer leaves a review they get an automated email from WordPress:
To do this, AutomatorWP enables you to use a straightforward drag-and-drop system where you choose triggers and actions. Each automation can have multiple triggers, and include conditionals that result in more than one action. If you’ve ever used a tool such as Zapier, you’ll be able to pick up how AutomatorWP works in a matter of minutes.
The main goal of this plugin is to save you time. If there are any tasks you find yourself spending too long on within WordPress, they’re prime candidates for automation.
One downside to this plugin is that at the moment of writing, it’s still pretty new. That matters because AutomatorWP only lets you ‘connect’ to specific plugins, and that list isn’t quite as big as we’d like to see yet:

So far, however, AutomatorWP offers support for several popular tools. These include WooCommerce, Easy Digital Downloads, LearnDash, BuddyPress, PopupMaker, and more. Since the plugin is developed by the same folks that made GamiPress, it’s likely to keep growing.
Although AutomatorWP is free, some of its integrations aren’t. You can check out a list of available integrations, and explore them individually on the developer’s website.
How to Use AutomatorWP to Set Up Simple Automations (In 2 Steps)
Using AutomatorWP to automate WordPress tasks is remarkably simple. You’ll probably spend most of your time tweaking the way they work instead of creating them. Go ahead and start by installing the plugin, and we’ll show you how it works in the following two steps.
Step 1: Set a Trigger
Once you install AutomatorWP, a new tab will appear in your dashboard. If you click on Automations, you’ll see a list of all the actions and triggers you’ve created. So far, ours is empty:
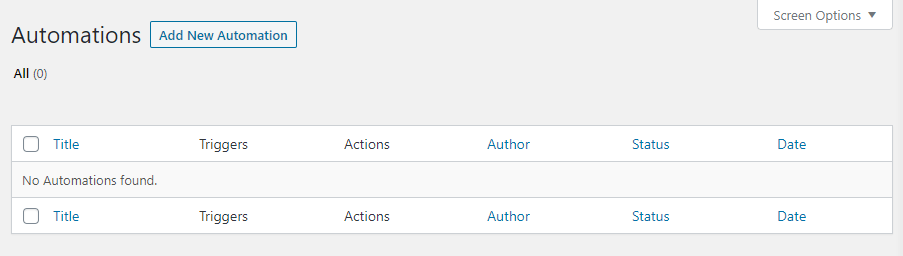
Click on Add New Automation and you’ll enter the editor. Set a name for your automation, and click on the button that says Add Trigger.
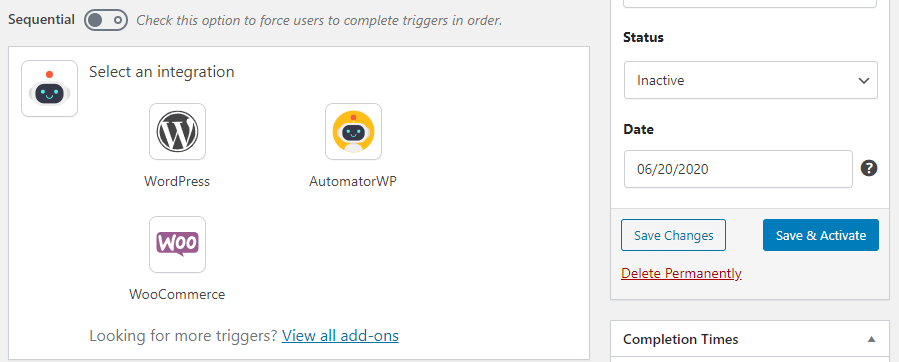
Out of the box, you’ll notice that AutomatorWP shows you a very bare-bones list of integrations:
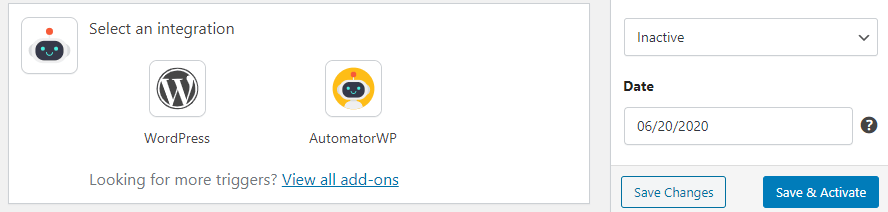
That’s because the plugin uses a modular add-on system that forces you to install extensions for each integration. The easiest way to expand the list of what’s available to you is to go to Plugins > Add New, and use the search function to look up “automatorwp integration”. You should see a list of available add-ons appear right away:
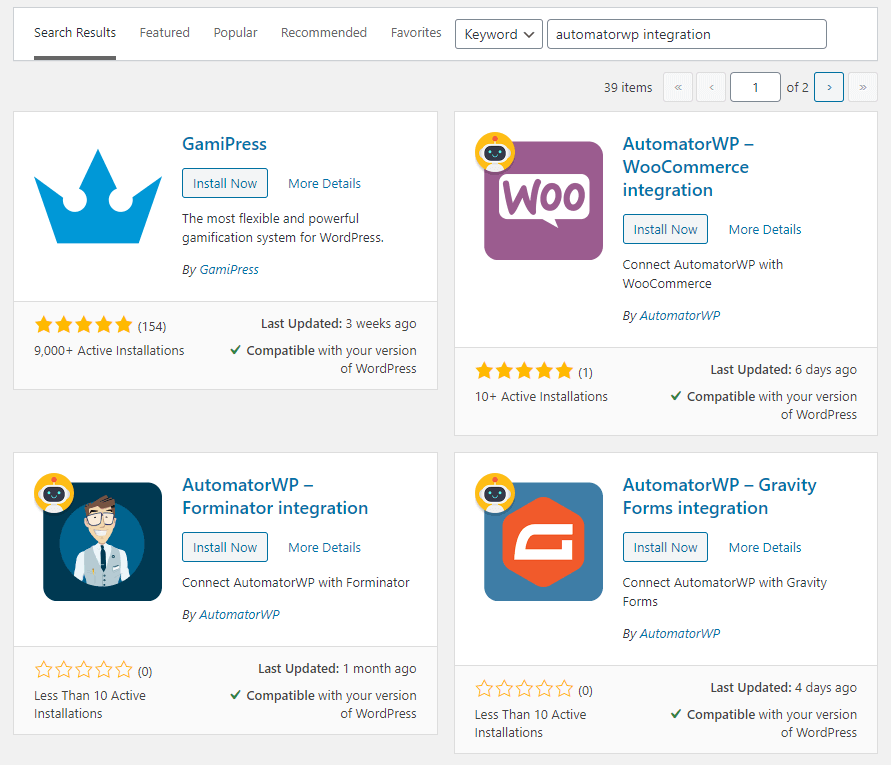
For our tutorial, we decided to install the WooCommerce integration plugin. Once it’s active, that integration will show up when you go back to the Automation Overview tab:
Keep in mind that you need to go through this process for every integration you want to set up. The approach is a bit cumbersome, but it keeps the plugin ‘lean’ (only including the functionality you really need to automate WordPress plugins).
Next, you can set up your trigger. We’ll click on the WooCommerce trigger, and use the search feature to find the specific action we’d like to target:
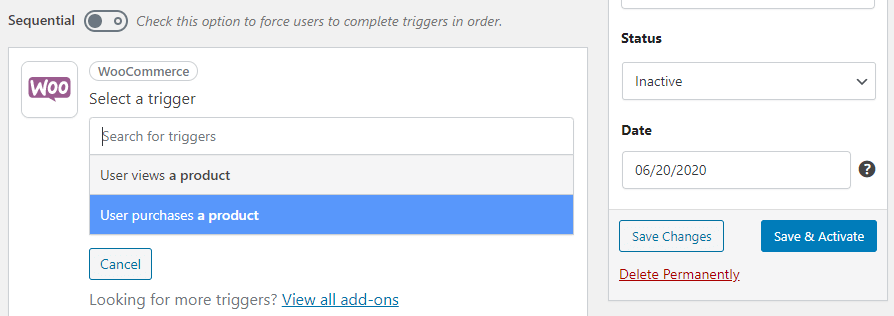
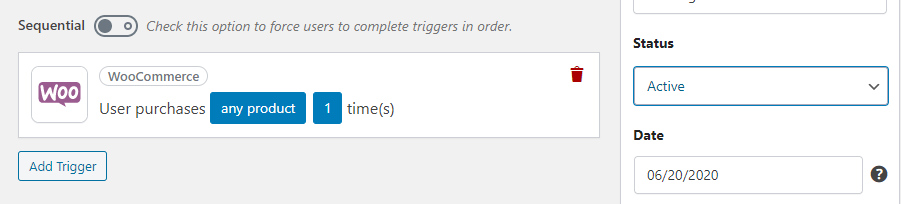
For this example, we chose individual purchases as our trigger. Once the trigger is set, you can modify some of its conditions by clicking on the fields with the blue backgrounds:
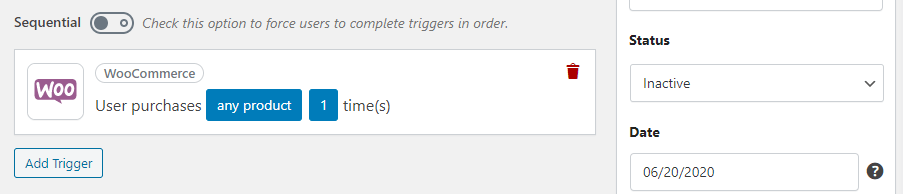
One option that’s missing, however, is the ability to change the trigger itself. To do that, you’ll need to delete the trigger and start over from scratch. In any case, once your trigger is ready, you can move on to the next phase.
Step 2: Select an Action
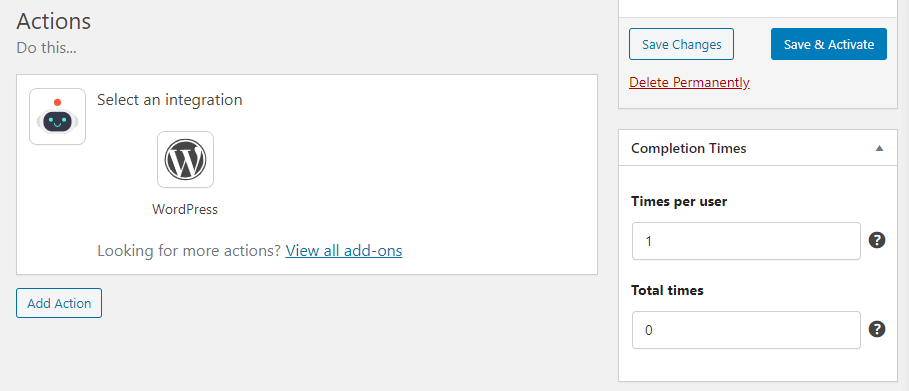
Selecting an action works just the same as choosing your trigger. First, you’ll select which tool will perform the action:
Then you’ll choose what you want the automation to do. For this example, we decided to use the Send an email option:
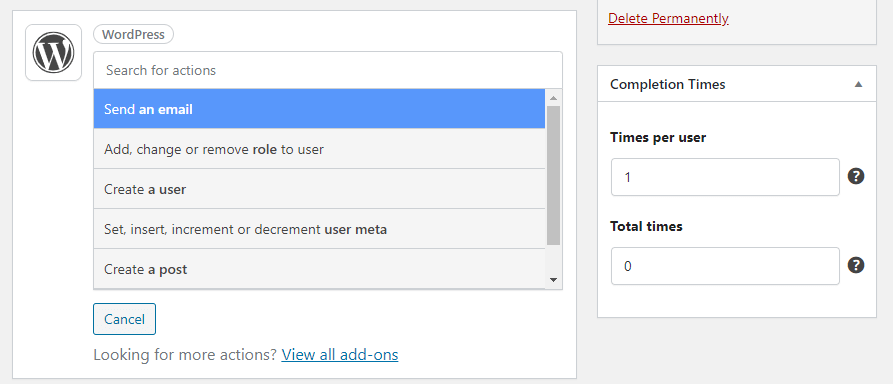
This way, we can make it so when someone buys a product from our website, we can send them a quick ‘Thank You’ email. It’s a little touch that would take too much work to do manually, which makes it perfect for automation:
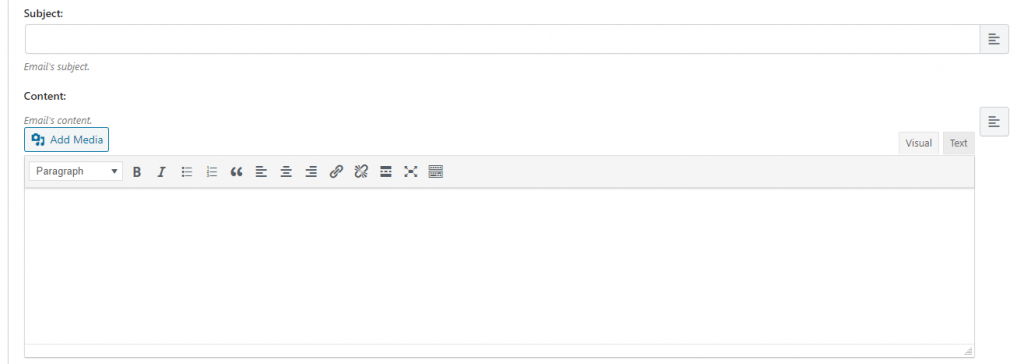
Now we can use a simple editor to put together our thank you message, and save the action. Here’s what our automation looks like now:

Before you save your automation, there are two more settings you may need to change. First, look for the Status setting on the right side of the screen and set it to Active, so the automation starts working right away:
On the lower-right side of the screen, you’ll see a widget labeled Completion Times. By default, each automation will work once for each user. If we want to send an email every time someone makes a purchase instead, we can change the Times per user value to zero:
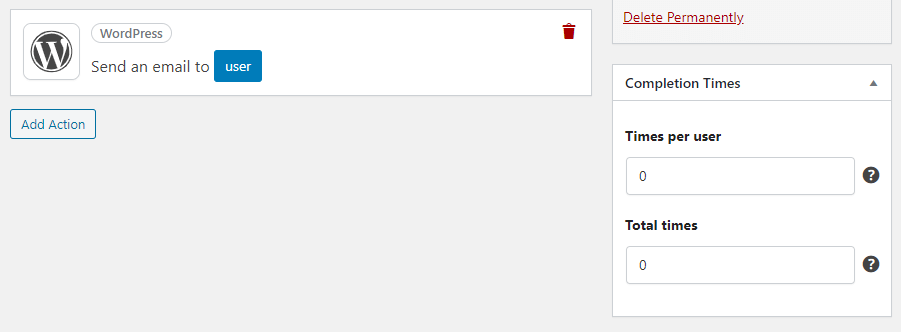
AutomatorWP uses ‘zero’ as a stand-in for unlimited actions. Once you’re done with these customizations, go ahead and save your automation, and it will be up and running immediately.
Other WordPress Automations You Can Implement With AutomatorWP
Overall, using AutomatorWP is pretty straightforward. However, if you’re new to the plugin, it can be easy to miss out on useful integrations you might be able to set up.
Since AutomatorWP uses a modular add-on system, it forces you to browse through its list of integrations to find the available options. In a some cases, you might overlook cool opportunities to automate WordPress functionality. Some examples of useful automations you may want to check out include:
Sending automatic instruction emails when someone enrolls in a LifterLMS course.
Awarding GamiPress achievements when a user completes an action, such as joining a BuddyPress group.
Sending a follow-up message if you receive a low-product rating via WooCommerce.
It’s also worth noting that you can integrate AutomatorWP with Zapier. That drastically increases the number of automations you can use, although in a roundabout way. To connect Zapier, however, you will need to purchase a premium add-on.
If you’re curious about AutomatorWP, check out its available integrations, and look for any plugins or tools you use regularly. Should you find any, chances are there will be an useful integration you can set up!
Conclusion
AutomatorWP is an excellent way to save yourself time and get diverse tools working together to benefit your site. The only thing that’s missing to make this a must-have tool is a broader range of supported plugins. For now, it only integrates with a few dozen options, and we’d like to see that list keep growing.
With AutomatorWP, you can set up complex automations involving popular plugins such as WooCommerce, BuddyPress, LearnPress, and so on. That list will likely keep expanding, so we’d recommend keeping an eye on this plugin if you’re looking to automate WordPress tasks.
Have you tried AutomatorWP for yourself? Share your thoughts with us in the comments section below!


Leave a Reply